(Edited March 16, 2009, to indicate that an alternate way of knitting this with NO cast-on edige is available here.)
(Edited August 25, 2006, to indicate that a PDF version of this pattern is available here)
(Edited March 25, 2007, to indicate that the tutorial that was previously on line seems to be no more. It was not my tutorial, and I can't re-create it. I can say that where people run into trouble with this pattern seems to be when it comes to picking up stitches for the next section. The simplest way I can say this is to look where your yarn is right now. It's coming from the right hand needle. Immediately coming off the needle to the left is an edge from the previous "row". Start knitting up stitches (draw through a loop using the working yarn) right where the edge meets your right hand needle and work towards the left until you come to the next batch of live stitches, or the end of the edge. The stitches you just picked up form the basis for the next portion of the pattern, and you join them to live stitches by either K2tog or SKP, depending where you are in the pattern.)
(Edited July 13, 2011 to indicate that a pictorial tutorial can now be found here.)
(Edited April 18, 2008 to indicate that Laura has a devised a very cool and very stretchy cast-on that works wonderfully for entrelac - give it a try!)
(Edited May 12, 2010, to add a link for
another way to begin this cloth that starts with a cast-on of just one stitch -- perfect!)
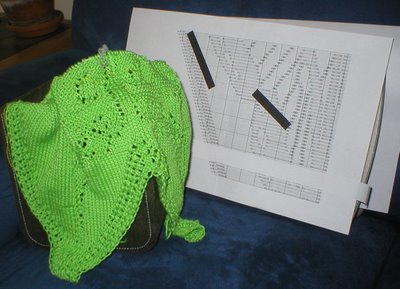
There have been a few requests for a pattern for these dishcloths, so here goes.
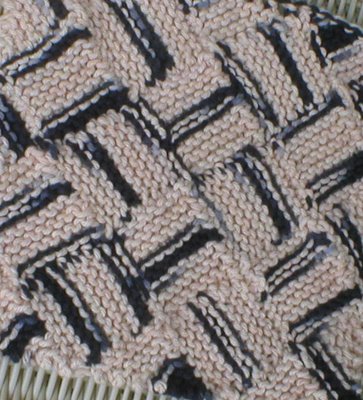
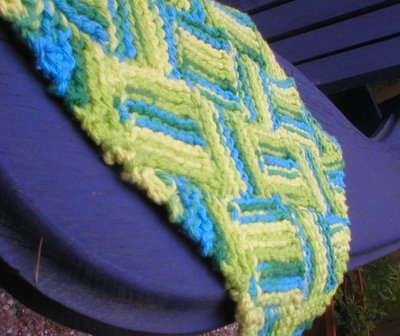
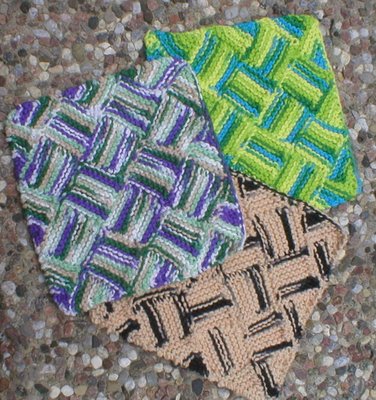
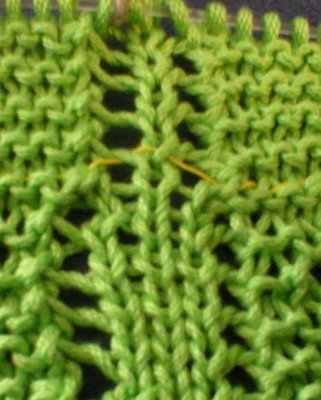
They're just entrelac, done all in garter stitch. Because there is no right or wrong side, and because you just use the same "colour" throughout, and because its just a *dishcloth*, you don't have to worry about blips showing through -- in essence, entrelac simplified.

Garterlac Dishcloth
Materials required: 1 ball dishcloth cotton & appropriate needles
Abbreviations:
K -- Knit
K2tog -- Knit two stitches together
K-FB -- Knit into the front of the next stitch and, before removing it from the needle, knit into the back of the same stitch
SKP -- Slip one stitch knit-wise, knit 1 stitch, pass slipped stitch over
Turn -- Put the stuff in your right hand into your left hand and the stuff that used to be in your left hand into your right hand
Pick up -- Insert right hand needle from front to back into side of previous layer between two garter bumps, wrap the yarn around the needle and pull a stitch through
Directions:
Very loosely, cast on 24 stitches.
Bottom Triangle:
K 1, turn, K 1, turn.
K 2, turn, K 2, turn.
K 3, turn, K 3, turn.
K 4, turn, K 4, turn.
K 5, turn, K 5, turn.
K 6, turn, K 6, turn.
K 7, turn, K 7, turn.
K 8, do not turn.
Repeat the directions for the Bottom Triangle twice more – three triangles in total. They look a little twisted right now. Don’t worry; they’ll sort themselves out as you go along. Turn and make an Increasing Side Triangle.
Increasing Side Triangle:
K 1, turn, K-FB, turn.
K 1, SKP, turn, K-FB, K 1, turn.
K 2, SKP, turn, K 1, K-FB, K 1, turn.
K 3, SKP, turn, K 2, K-FB, K 1, turn.
K 4, SKP, turn, K 3, K-FB, K 1, turn.
K 5, SKP, turn, K 4, K-FB, K 1, turn.
K 6, SKP, turn, K 5, K-FB, K 1, turn.
K 7, SKP, do not turn.
Now make a Square.
Square:
Pick up 8 stitches along the side of the previous row, turn.
* K 8, turn, K 7, SKP, turn. *
Repeat between the *s another seven times, but do not turn at the end of the eighth repeat.
Make another Square, and then a Decreasing Side Triangle.
Decreasing Side Triangle:
Pick up 8 stitches along the side of the previous row, turn, K 8, turn.
K 6, K2tog, turn, K 7, turn.
K 5, K2tog, turn, K 6, turn.
K 4, K2tog, turn, K 5, turn.
K 3, K2tog, turn, K 4, turn.
K 2, K2tog, turn, K 3, turn.
K 1, K2tog, turn, K 2, turn.
K2tog, turn.
You are left with one stitch on the left hand needle. Transfer it to the right-hand needle. Pick up a further 7 stitches down the side of the previous row so you have 8 stitches in total, turn, and continue with the directions for Square.
Make two more Squares.
Continue adding layers in a similar manner.
The next layer will be Increasing Triangle, two Squares, then Decreasing Triangle.
The next layer will be three Squares.
The next series will be Increasing Triangle, two Squares, then Decreasing Triangle.
Now it is time to make triangles along the top. Transfer the remaining stitch to your right hand needle and proceed with Top Triangle.
Top Triangle:
Pick up 7 stitches along the side of the previous row, turn.
K 6, K2tog, turn, K 6, SKP, turn
K 5, K2tog, turn, K 5, SKP, turn
K 4, K2tog, turn, K 4, SKP, turn
K 3, K2tog, turn, K 3, SKP, turn
K 2, K2tog, turn, K 2, SKP, turn
K 1, K2tog, turn, K 1, SKP, turn
K2tog, turn, SKP.
K 1 and pass the second stitch on the right-hand needle over the first. You are left with one stitch on the right-hand needle.
Make 2 more Top Triangles, fasten off last stitch and weave in ends.




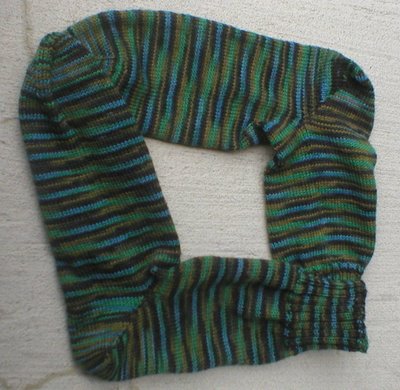
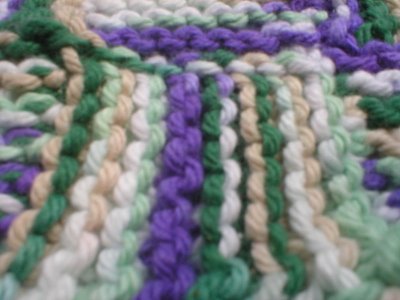
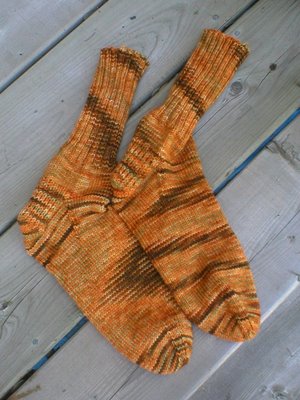
 They really do glow. To be fair to them, I did try to take an arty-fartsy close-up.